Note: The Open Market tag is currently in alpha testing. It will be rolling out to your account before the end of the quarter. You may have to associate Open Market demand manually once you enabled Open Market demand on a supply tag.
This page will cover how to enable open market demand for your supply, and well as how to report on it.
Open Market Associations:
1) In order to turn on open market demand for your supply, in the Supply Tag Settings tab, set the 'PC – Open Market Demand' button to 'Enabled'.
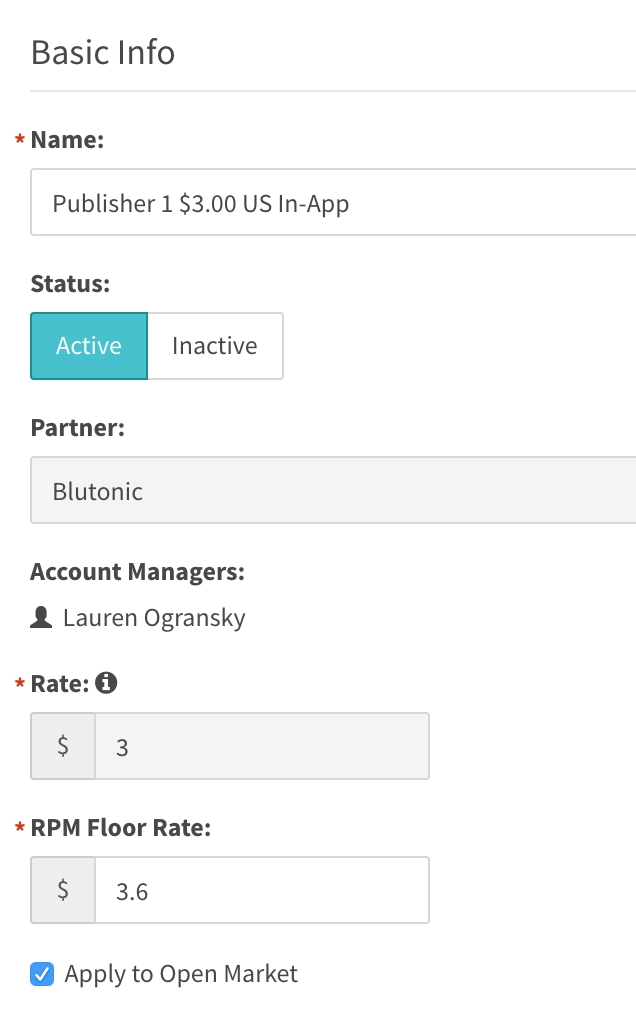
2) Then set the 'RPM Floor Rate' to the amount you wish to have as your floor for open market demand. Check the 'Apply to Open Market' checkbox as well.
Now, open market demand is automatically added to your waterfall, and using the RPM Floor Rate as its floor.
3) You can see performance of the Open Market demand in your waterfall, by navigating to the 'Demand' tab on the supply tag (a.k.a the waterfall page).
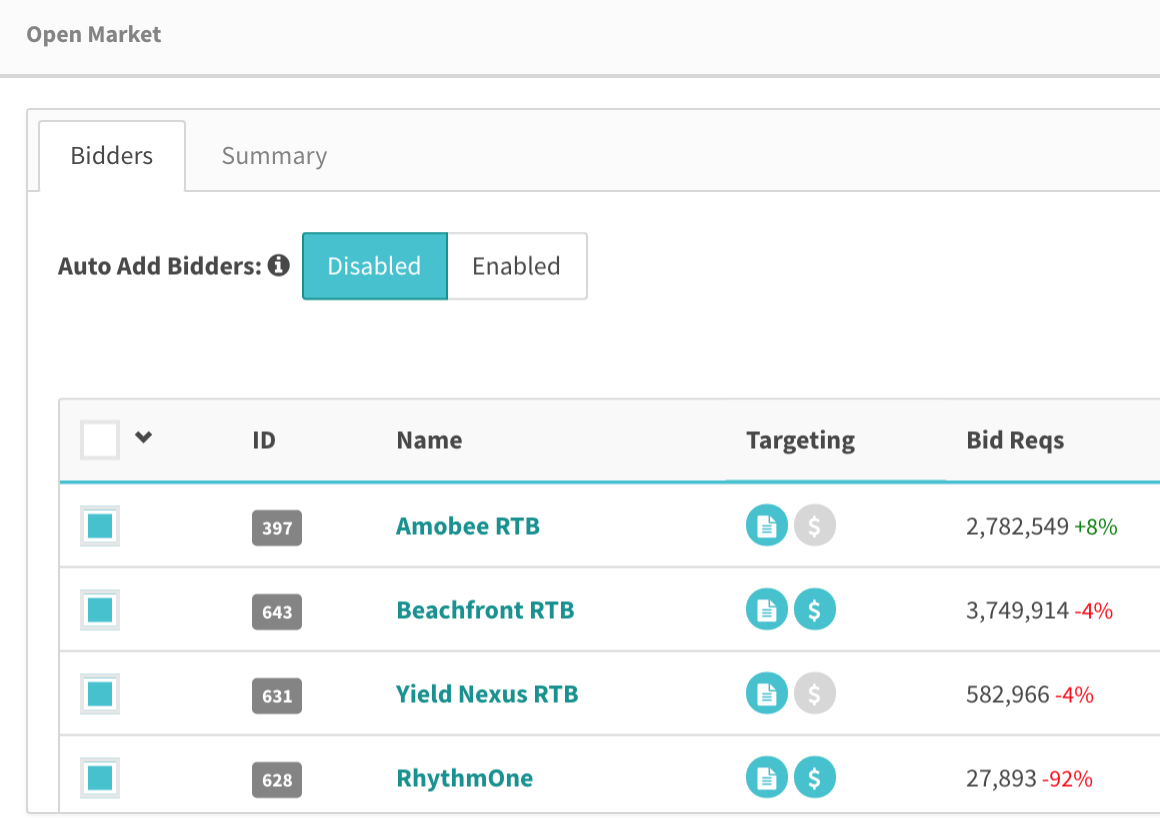
4) In order to get a more in depth look into performance by bidder, you can click on the box to the right of the name to open up a modal.
Here you can enable and disable bidders in this supply tag's Open Market. You can also toggle the "Auto Add Bidders" settings which will automatically add new bidder connections to Open Market if this is enabled.
Open Market Reporting:
You can report on your Open Market activity across your entire account by running a report with 'Demand Type' filtered as 'Open Market'. To see this activity across your supply partners, add 'Supply Partner' as a Dimension. This shows Open Market activity per Supply Partner.
Dimensions:
Report results:


